
Blink Camera Armed vs Disarmed Mode : A Complete Guide
When I first got my Blink camera, I kept seeing the terms blink camera armed vs disarmed in the app, and I wasn’t quite sure what they meant. I wanted to make sure my home was secure but also avoid unnecessary notifications. After a deep dive into the settings, I finally understood the difference and how to use these modes effectively.
If you’re also wondering what armed vs disarmed on Blink camera means, don’t worry—I’ve got you covered. In this guide, I’ll walk you through what these modes do, when to use them, how they impact motion detection, and how to configure them for the best security experience.
1. What Does Armed vs Disarmed Mean on Blink Camera?
The armed vs disarmed Blink camera settings determine how the camera responds to motion.
- Armed mode: The camera is actively monitoring for motion, recording clips, and sending notifications when motion is detected.
- Disarmed mode: Motion detection is turned off, so the camera won’t record or send alerts.
Understanding the difference between blink camera disarmed vs armed is crucial because the right setting depends on your security needs.
2. Understanding the Armed and Disarmed States
I quickly realized that the armed mode is best when I’m away from home. It ensures that any movement around my property is detected and recorded. Meanwhile, disarmed mode is useful when I’m at home and don’t want constant notifications.
Each mode has its purpose: the armed mode is for capturing motion events, while disarmed mode prevents unnecessary notifications.
- Armed: Great for security when no one is home.
- Disarmed: Prevents unnecessary alerts when you’re present.
Knowing when to toggle between armed vs disarmed Blink camera modes helps ensure your security system works efficiently and captures important motion clips.
3. How Motion Detection Works in Each Mode
I noticed that my Blink camera uses passive infrared (PIR) sensors to detect motion when armed and capture motion events. This means:
- Armed mode: The camera detects heat-based motion and records video.
- Disarmed mode: Motion sensors remain off, preventing recordings and alerts.
This was helpful because I realized that when my camera was disarmed, it wasn’t recording anything unless I manually accessed the live feed.
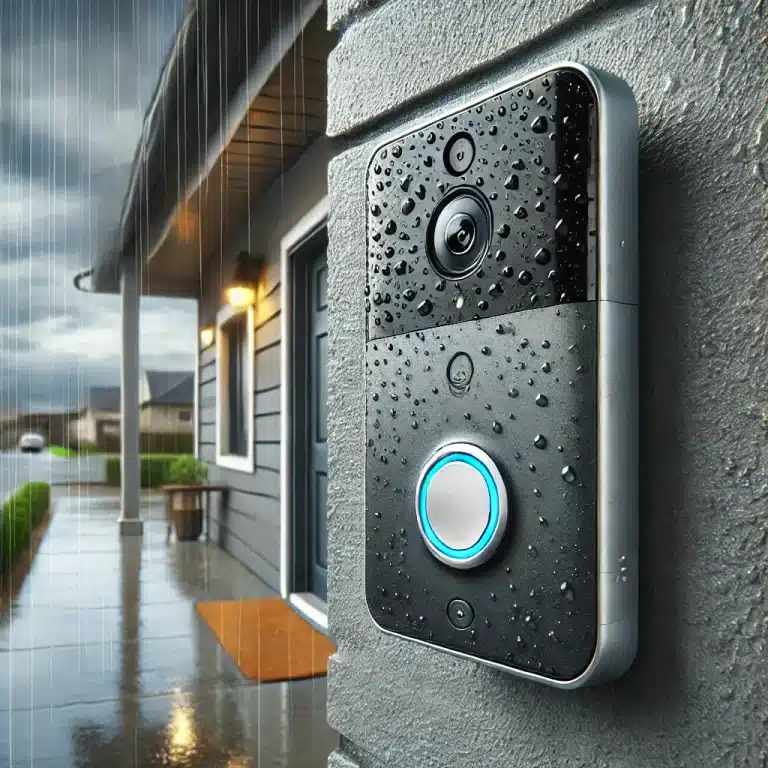
4. Visual Indicators of Armed vs Disarmed
One of the easiest ways to check if your Blink system is armed or disarmed is through the Blink app. Here’s how I verify my camera’s status:
- Blink app home screen:
- A blue running man icon means the camera is armed.
- A grey running man icon means it is disarmed.
- LED indicator:
- Some Blink models show a blue LED light when recording motion in armed mode.
- No LED light means the camera isn’t recording.
Knowing these visual cues makes it simple to confirm whether my system is protecting my home properly.
5. How to Disarm Your Blink System
Step-by-Step Guide to Disarming Your Blink System
To prevent motion alerts and recordings, I follow these steps:
- Open the Blink app.
- Find the camera I want to disarm.
- Tap the toggle switch to turn off motion detection.
Using the Blink App to Disarm
I also set up scheduled disarming so that the camera turns off motion detection automatically when I’m home. This saves me from constantly switching modes.
Common Issues When Disarming Your Blink
Sometimes, I’ve encountered issues where the disarmed setting didn’t take effect. When this happens, I:
- Restart the Blink app and try again.
- Check my WiFi connection to ensure the camera syncs properly.
6. How to Arm Your System for Optimal Motion Detection
Setting Up Motion Detection for All Devices
When I leave my house, I make sure to arm my system by:
- Opening the Blink app.
- Tapping the motion detection toggle to turn it on.
- Adjusting motion sensitivity to avoid false alerts.
Configuring the Blink Camera Settings
For the best security, I customize:
- Motion sensitivity: Higher for outdoor use, lower for indoor areas.
- Activity zones: To reduce false alerts from trees, pets, or passing cars.
Scheduling Armed and Disarmed Times
I found that scheduling my blink camera armed vs disarmed times is the best way to automate security. This prevents me from forgetting to switch modes.
7. What Notifications are sent when the Blink outdoor camera is armed and detects motion events. Will You Receive When Armed or Disarmed?
Understanding Motion Notifications
When my camera is armed, I get notifications for:
- Motion detected alerts
- Video clips saved alerts
When disarmed, I don’t receive notifications unless I manually check the live feed.
How to Manage Notification Settings
I customize my notifications by:
- Turning off alerts for indoor cameras when I’m home.
- Keeping on alerts for outdoor cameras for security.
8. What Happens When Motion Detection is Enabled?
If motion detection is enabled, Blink cameras will:
- Detect movement using PIR sensors to enable motion detection in the Blink camera.
- Record a clip and save it to the cloud.
- Send a notification to my phone.
If I disable motion detection, the camera won’t capture anything unless I use live view manually.
9. When Should You Disarm Your Blink Camera?
Situations That Require Disarming
I only disarm my camera in these cases:
- When I’m at home and don’t need alerts.
- If pets or kids trigger too many false alarms.
Safety Considerations for Disarming Your Blink System
I try not to disarm my outdoor cameras unless absolutely necessary. Keeping them armed ensures security even when I’m home.
Impact on Motion Detection When Disarmed
If my camera is disarmed:
- No motion is recorded.
- No notifications are sent.
This means if an intruder enters my property, I won’t have any footage unless the camera is armed.
10. Frequently Asked Questions About Blink Camera Modes
What is the Difference Between Armed and Disarmed Modes?
Here’s a quick breakdown:
| Mode | Motion Detection | Notifications | Recording |
|---|---|---|---|
| Armed | Yes, I prefer to use the Blink mini camera armed vs disarmed feature for better security management. | Yes | Yes |
| Disarmed | No | No | No |
Can I Contact Support for Help?
If I run into issues, I contact Blink Support through the app or their website.
What to Do If You Encounter Issues with Disarming Your Blink System?
If my Blink camera doesn’t disarm:
- I restart the Blink app to ensure it properly reflects whether the system is disarmed or armed.
- I check if the system is properly synced.
Final Thoughts
Understanding the blink camera armed vs disarmed modes has helped me optimize my security system. Now, I know when to arm my cameras for protection and when to disarm them to avoid unnecessary notifications.
By properly configuring schedules, motion settings, and notifications, I’ve found a balance between security and convenience. If you’re new to Blink cameras, I recommend experimenting with these settings to find what works best for your home.
Would you like help setting up your Blink system? Let me know in the comments!