2025 Guide: How to Reset Blink Floodlight Camera with Ease
If you’re looking for a quick and effective way to troubleshoot or set up your Blink Floodlight Camera, knowing how to reset your Blink Floodlight camera is essential.
Whether you’re dealing with connectivity issues, a malfunctioning camera, or just need to start fresh, resetting your camera can solve a lot of problems. The process is simpler than it might sound, and once you know the steps, you’ll be able to reset your Blink camera with ease.
In this guide, I’ll walk you through everything you need to know about resetting your camera and getting it back up and running in no time.
What Are the Steps to Reset Your Blink Camera?
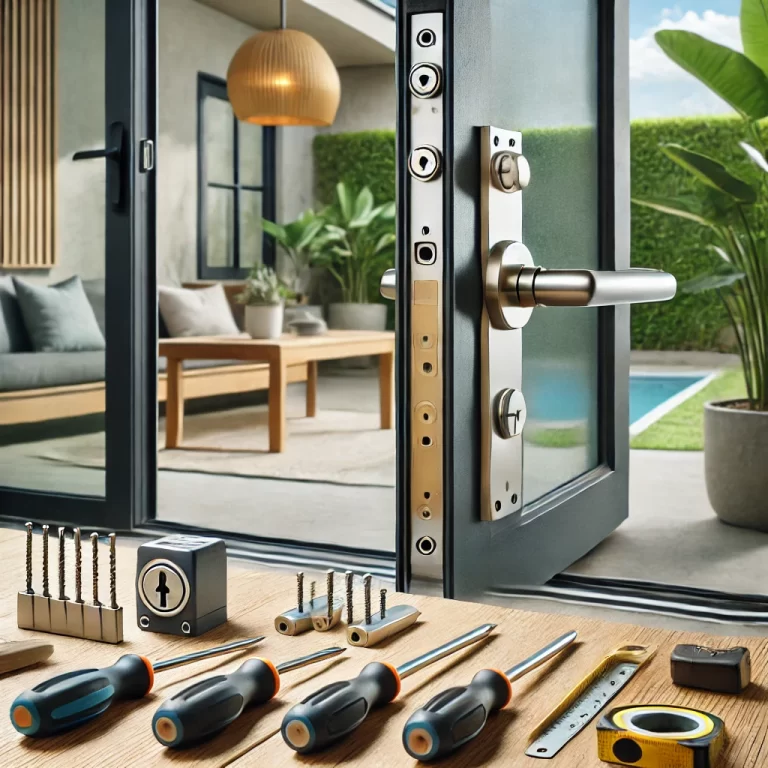
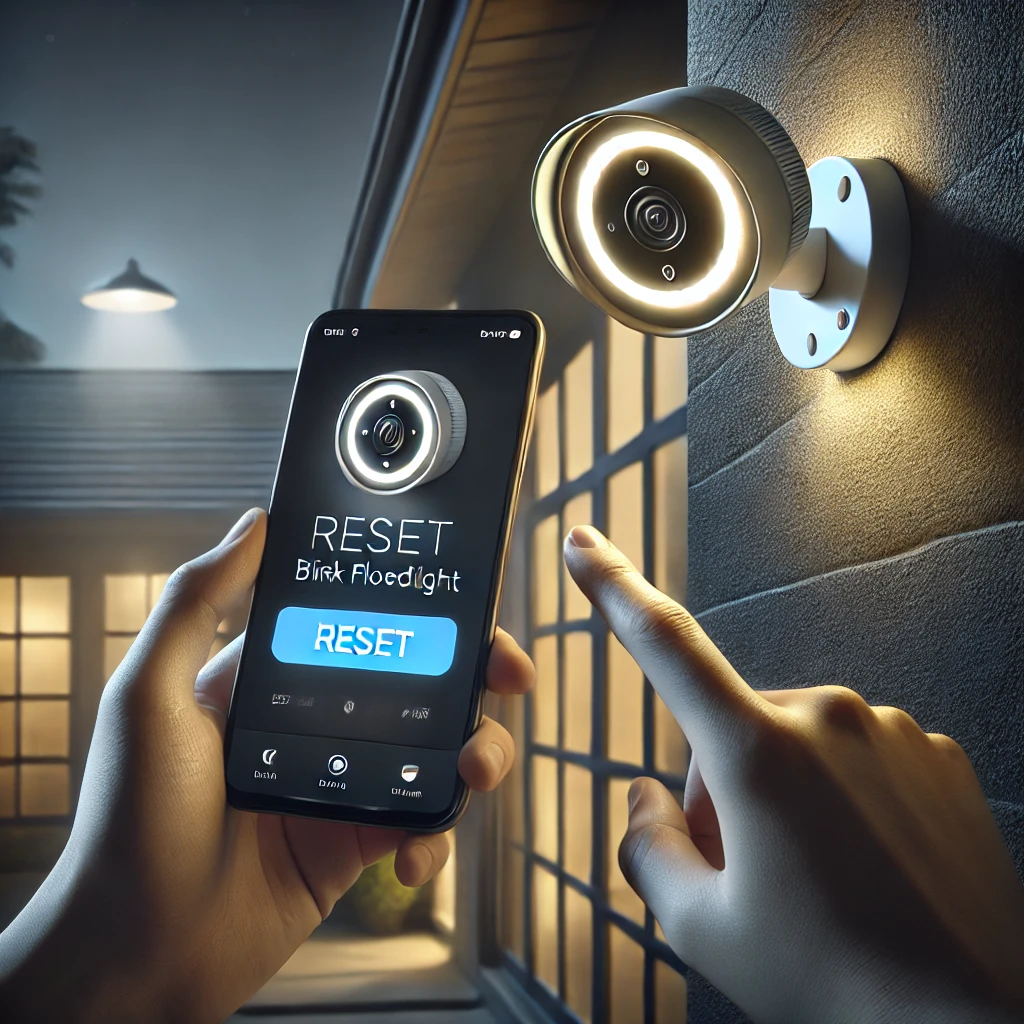
First thing’s first—let’s find that reset button on the Blink wired floodlight. It’s usually on the back of your Blink Floodlight Camera. You’ll need something like a paperclip or pin to press it, because it’s often a tiny, recessed button. Press and hold that button for 10 seconds. Yeah, it’s a little awkward, but trust me—it’ll blink its way through the process and let you know it’s resetting.
Once the light on your camera starts blinking rapidly, you know it’s been reset successfully. This means the camera is now in setup mode and ready to be connected again.
How to Press and Hold the Reset Button on Your Blink Camera?
Okay, let’s talk about technique here. A lot of people (myself included) tend to rush the reset, thinking that a quick press will do the trick. But here’s the deal: you need to press and hold that button for a solid 10 seconds. Don’t give up too early, and don’t press too lightly. If you’ve got it right, the light on your camera will blink rapidly, signaling that the reset is complete.
I’ve learned the hard way—pressing too lightly or not holding it long enough can leave you frustrated because it won’t reset properly. So, get comfy and press for the full 10 seconds!
What Should You Do After Resetting Your Camera?
Once your Blink Floodlight Camera is in reset mode, open the Blink app on your phone. Go ahead and add the camera back to your system by following the prompts. You’ll be asked to scan a QR code or enter the camera’s serial number, which is usually on the back of the camera.
Next, reconnect it to your Wi-Fi by following the app’s instructions. If your camera was acting up due to a Wi-Fi issue, resetting it will often solve the problem. You might need to test it out a few times, but with some patience, you should be good to go!
How to Reconnect Your Blink Camera After a Reset?
Reconnecting your camera is pretty straightforward—just follow the steps in the Blink app. After resetting, tap the plus sign to add a new device, and the app will guide you through the process. The tricky part here is ensuring you’re on the right Wi-Fi network. If your connection is weak, or you’re using the wrong network, you might run into trouble.
When reconnecting, the app will ask you to scan a QR code. This is where things sometimes get messy for me—I always have to remember where I left the serial number of the camera. It’s usually on the back or bottom, so be prepared for that!
What to Do If Your Blink Floodlight Camera Isn’t Working?
Sometimes, even after resetting, the camera just doesn’t cooperate. The first thing to check is the power—whether it’s plugged in properly or if the batteries are dead. If everything’s powered up, try restarting your router. A lot of the time, Wi-Fi connection issues can cause the camera to act up.
Also, check the Blink app for any error messages or issues. I’ve found that the app can often give you a clue about what’s wrong. It might say your camera is offline or there’s a connectivity issue—then you can troubleshoot from there.
Why Is My Blink Camera Offline?
When your Blink camera is offline, it’s usually due to one of two things: either a Wi-Fi problem or a power issue. I’ve had the camera appear offline because my Wi-Fi dropped temporarily—frustrating, but easy to fix. Make sure your camera is within range of your router and that your network is working well.
If the power source is the issue, check the connection. For Ring Floodlight Cam Wired Plus or Plus models, make sure everything’s plugged in securely. For battery-powered cameras, check the battery life—sometimes it’s just a matter of replacing old batteries.
How to Fix Wi-Fi and Connection Issues with Your Blink Camera?
Wi-Fi problems are the most common cause of connection issues with Blink cameras. If your camera is too far from the router or there’s interference, it may not connect. I’ve personally fixed this by moving my Blink wired camera closer to the router or using a Wi-Fi extender. If your router supports it, make sure your Blink wired camera is connecting to the 2.4GHz band instead of the 5GHz—it’s better for long-range connections.
Another trick is to restart your router. Sounds simple, but sometimes a quick reboot can solve a lot of connection issues. Make sure your internet is stable, and you’ll be all set.
What to Check If Your Camera Settings Are Off?
If the camera seems connected but isn’t functioning right, you might need to adjust some settings in the Blink app. I’ve had instances where motion detection sensitivity was set too low, and I didn’t get any alerts for important events.
Head to your camera settings in the Blink app, and look for the motion detection zones and sensitivity options. I recommend adjusting the motion zones on your Blink outdoor camera to fit the area you want to monitor and tweaking the sensitivity to avoid over-notifications or missing important ones.
How to Use the Blink App to Set Up Your Camera?
Setting up a camera with the Blink app is simple, but a few things can trip you up, especially if you need to reset Blink cameras. When you open the Blink app, you’ll see a “+” sign to add a new device, including doorbell options. Follow the prompts to scan the QR code on the camera, and the app will guide you through the rest. The app will ask for your Wi-Fi information, so make sure you’re connected to the correct network.
It’s important to stay patient during this process—especially when you’re waiting for the app to sync with your camera. You don’t need to rush, just let it do its thing.
Where to Find Camera Settings in the Blink App?
After setting up your camera, you’ll want to check its settings. To access them, open the Blink app, tap on the camera you want to adjust, and scroll down to find options like motion sensitivity, video length, and notification preferences. If something’s off, this is the place to fix it.
I’ve spent hours troubleshooting only to realize I hadn’t adjusted the motion sensitivity correctly. So, make sure to take your time and fine-tune these settings to suit your needs.
How to Add a New Wired Floodlight Camera to Your Blink System?
Adding a wired floodlight camera is very similar to adding any other Blink camera. The main difference is the power source, so ensure that it’s securely plugged in. Once it’s powered up, follow the same setup process in the Blink app—tap the plus sign to add a new device, and it’ll guide you through the rest.
Since the camera is wired, you won’t have to worry about battery life, which is nice. But be sure to check the camera’s placement to ensure the wires are connected properly.
How to Remove a Camera from Your Blink Account?
Removing a camera from your Blink account is simple, whether it’s a Blink wired or outdoor camera. In the Blink app, tap on the camera’s thumbnail, go into the settings, and scroll down to the bottom where you’ll see the option to delete the device. Tap that, and your camera will be removed from your account.
It’s always a good idea to delete old cameras if you’re upgrading or not using them anymore. That way, you’ll have a cleaner setup.
What to Do If Your Wired Floodlight Isn’t Responding?
If your Blink wired floodlight camera isn’t responding, the first thing to check is the power supply. Make sure it’s plugged in properly and receiving power. If it’s still not working, try resetting the camera and going through the setup process again. Also, check your app for any error messages that could clue you in on the problem.
If that doesn’t work, it might be time to reach out to Blink Support.
How to Properly Press and Hold the Reset Button?
When resetting your Blink camera, remember that the reset button needs to be pressed for about 10 seconds. This gives the camera time to power cycle and reset. I’ve learned the hard way that pressing too briefly or not holding it long enough won’t trigger the reset. So, make sure you give it a full 10-second press, and wait for the camera to blink before letting go.
How to Troubleshoot Power Issues with Your Blink Camera?
If you’re experiencing power issues, the first step is to check the power connection. For wired cameras, make sure it’s properly plugged in and receiving power. For battery-powered cameras, check the batteries and replace them if necessary.
Sometimes, I’ve found that issues can also come from a loose power connection or a faulty power adapter, so double-check everything before assuming the worst.
When Is It Time to Contact Blink Support?
If you’ve tried everything—resetting the camera, adjusting settings, checking the power—and your Blink camera is still acting up, it might be time to reach out to Blink Support. They can troubleshoot with you over the phone or even help you troubleshoot remotely via the app.
What Problems Need Professional Help with Blink Cameras?
If your camera is physically damaged or completely unresponsive despite all your efforts, it may require professional assistance. Blink Support can help determine if the issue is beyond a simple fix.
How to Get in Touch with Blink Support?
You can reach Blink Support directly from the Blink app by navigating to the help section. There, you’ll find options to chat with a representative or submit a support ticket regarding your Blink wired camera. They usually respond pretty quickly, and you can often resolve issues via chat without having to wait on the phone.
If you prefer, you can also reach out through Blink’s website or social media channels. I’ve had decent luck getting answers through their Twitter or Facebook support pages if the app isn’t working for some reason.
Exploring the Wasserstein Collection for Blink Cameras
When it comes to accessories that can take your Blink camera setup to the next level, the Wasserstein collection is a game-changer. Over the years, I’ve tried a few accessories from this line, and I’ve got to say—they’re built to last and designed to make life easier for camera owners like you and me.
What’s Included in the Wasserstein Collection for Blink?
The Wasserstein collection offers a wide range of accessories designed specifically for Blink cameras. From outdoor mounts to weatherproof battery covers and even solar panels, this collection really has everything you might need to improve your camera setup. I personally have used their solar panel for my Blink Outdoor camera, and it’s been a lifesaver, especially during the summer months. Not only does it keep my camera charged, but it also takes away the hassle of constantly changing batteries.
One of my favorite items from the collection is the wall mount. It’s sturdy, adjustable, and helps position the camera exactly where I want it. If you’re using a wired Blink camera, you can also find extension cables and other accessories to ensure your setup is both practical and secure.
How to Integrate Wasserstein Accessories with Your Blink System?
Integrating Wasserstein accessories with your Blink system is straightforward. Since these products are designed specifically for Blink cameras, they fit seamlessly into your existing setup without any issues. For example, when I installed the solar panel, I simply plugged it into the camera’s charging port and placed it in a spot where it could catch plenty of sunlight. It was a quick setup, and there was no need for extra configuration.
For mounts and stands, you just need to position them where you want your camera and screw them into place. No complicated instructions or extra steps—just easy, hassle-free installation. I love how intuitive the whole process is.
Even if you’re not a DIY expert (I’m definitely not), the installation is simple enough that you’ll feel confident doing it yourself. Just follow the instructions, and you’ll be good to go. These accessories really enhance the performance of your Blink cameras and extend their functionality, especially if you’re serious about outdoor security or long-term usage.
Using these accessories, I’ve noticed better stability in camera positioning, improved performance in harsh weather conditions, and a noticeable boost in my camera’s uptime. It’s like giving your Blink system a little upgrade without needing to invest in an entirely new camera.
Summary
Resetting your Blink Floodlight Camera can be a quick and easy fix when things aren’t working right. Just press and hold the reset button for about 10 seconds to reset a Blink camera, and you’ll be back in business in no time. From reconnecting the camera to your Wi-Fi to adjusting the settings in the Blink app, the process is relatively straightforward once you know the steps.
However, issues like connection problems or camera offline errors are common, and troubleshooting these can be as simple as checking your power source or resetting your Wi-Fi. If you’ve gone through all the steps and your Blink outdoor camera still isn’t working, it might be time to contact Blink Support for further assistance.
If you’re looking to enhance your Blink setup, the Wasserstein collection of accessories offers a range of products designed to boost your camera’s performance. From solar panels that keep your camera charged to durable mounts that provide better positioning, these accessories integrate easily with your Blink system and can help you get the most out of your setup.
In short, whether you’re troubleshooting a minor issue or upgrading your system, understanding the ins and outs of your Blink camera, the reset process, and the available accessories can make all the difference in maintaining a reliable and functional security system.